Saionara: A Review. Incliuding the Pico Mod by iStick.
The Sai Atomizer Tank
OK Folks, the Sai Atomizer review is here.
First, we’ll be reviewing the Original Saionara Tank. See our post about the TAF (Top Air Flow) Sai Atomizer here.
I’d also like to share with you my thoughts on the Pico mod, which comes as a kit with the Saionara (Sai) on PuffItUp.com .
This atomizer is NOT for e-liquid, this is a cannabis concentrate atomizer, akin to what I’ve reviewed previously, but this has some different features.
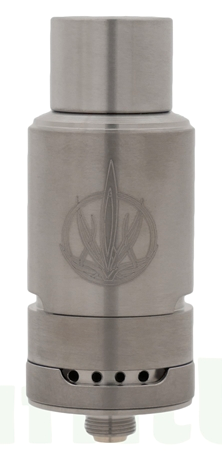
So, to begin. The Sai comes in various colors, I got the titanium one, which on further thought was a mismatch to my black Pico mod. Oh well, looks great anyway.
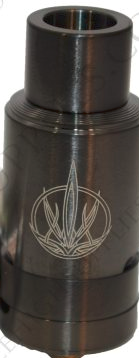
Here’s some of the colors you can get:

Well, onto the function and operation of the Sai.
At first glance, it’s a high quality atomizer, thick metal, and great machining.
It has a bottom airflow, which only has holes on one side, containing a row of holes, so you can select the intake airflow.
A tight airflow will result in denser clouds but less air. All the way open works quite well for me, I like airflow. Draw very nicely and free.
The Sai comes with a kanthal/black-ceramic rod. This coil cannot operate on temperature control (TC).
The black ceramic is porous, and really helps to hold your concentrate in one place.
Running this coil/atomizer at 20 watts works quite well. Kanthal wire, by it’s nature, cannot perform under TC mode.
There are other coils available for this unit, such as the all-ceramic cup (probably will be my favorite) and quartz wicks. Also two ‘miracle’ coils.
I hope to have some different coils to review soon.
The device has two large cuts on the upper body, not sure if it was an early attempt at airflow that was abandonded or what, but they seem to serve no purpose.
It also has a removable mouthpiece/ drip-tip, but it’s not 510 sized.
Now onto the operation.
Operation: loading and using the Sai
To start out with, off-gas your coil a bit. This means you open the atomizer, view the coil, and fire it 2-3 times on full heat to burn off any factory remanents on the coil.
Now you’re ready to load. Depending on the type of substance you’re using, there are different loading techniques.
If it’s shatter, u can basically just lay the shatter atop the coil, making sure its in contact with coil.
Do avoid using sugar/saucy concentrates, as these tend to leak the most, past teh coil, into the unit. This is true of all coil-using units we’ve tried.
Wax and tacky butter can be loaded, by using the technique of gathering a bit up on your tool (titanium recommended), holding the material over the coil, and heating the tool with a lighter. The concentrate will slide off, and plop, right onto the coil.
Alright, you have it loaded. Hit the power button briefly to melt it a sec. then attach the top cap, press fire button, inhale.
For you people with super lungs, your mod may run past its 10-second firing limt, and you may have to press the fire again.
What I do is, quickly click the fire button at 8 seconds to have a constant flow of power. The quickness of resumption of power depends on the mod you’re using. I have found the Pico by iStick does this wonderfully, and has a time meter so u can know before you hit 10 seconds.
Features
The Sai has an innovative splash guard in its cap, top section. This eliminates the need for a thin screw cap or other systems to prevent inhalation of concentrate. The Sai does this amazingly well. Most atomizers build up with reside quite quickly. The Sai, after much use, has barely any evidence of rosin build-up.
The guard works well against heat and spit-back. Easily cleaned by soaking in 91-99% isopropyl (iso).
The unit stays closed due to two very thick o-rings. While it’s not recommended to soak these in iso, they can be cleaned with it. So far no rosin has formed on the o-rings.
This unit is NOT compatible with the Titanium Bucket coil system of the Sai TAF, which we will review soon.
Entire device can be cleaned in iso.
The Cons
Well, I can’t really come up with a con except that this version does not use the titanium bucket coils, and, the mouthpiece/drip tip is not 510 sized.
The unit stays surprisingly cool during operation ! A big plus.
Now, onto the Pico:
The Pico Mod
This is a really handy, good-looking, cute small mod with a replaceable 18650 battery well.
It’s so small for a replaceable battery unit ! The achieve this with using a cap for the negative end of battery.
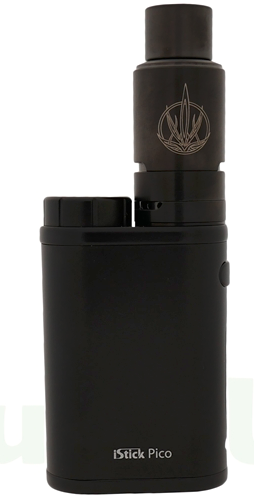
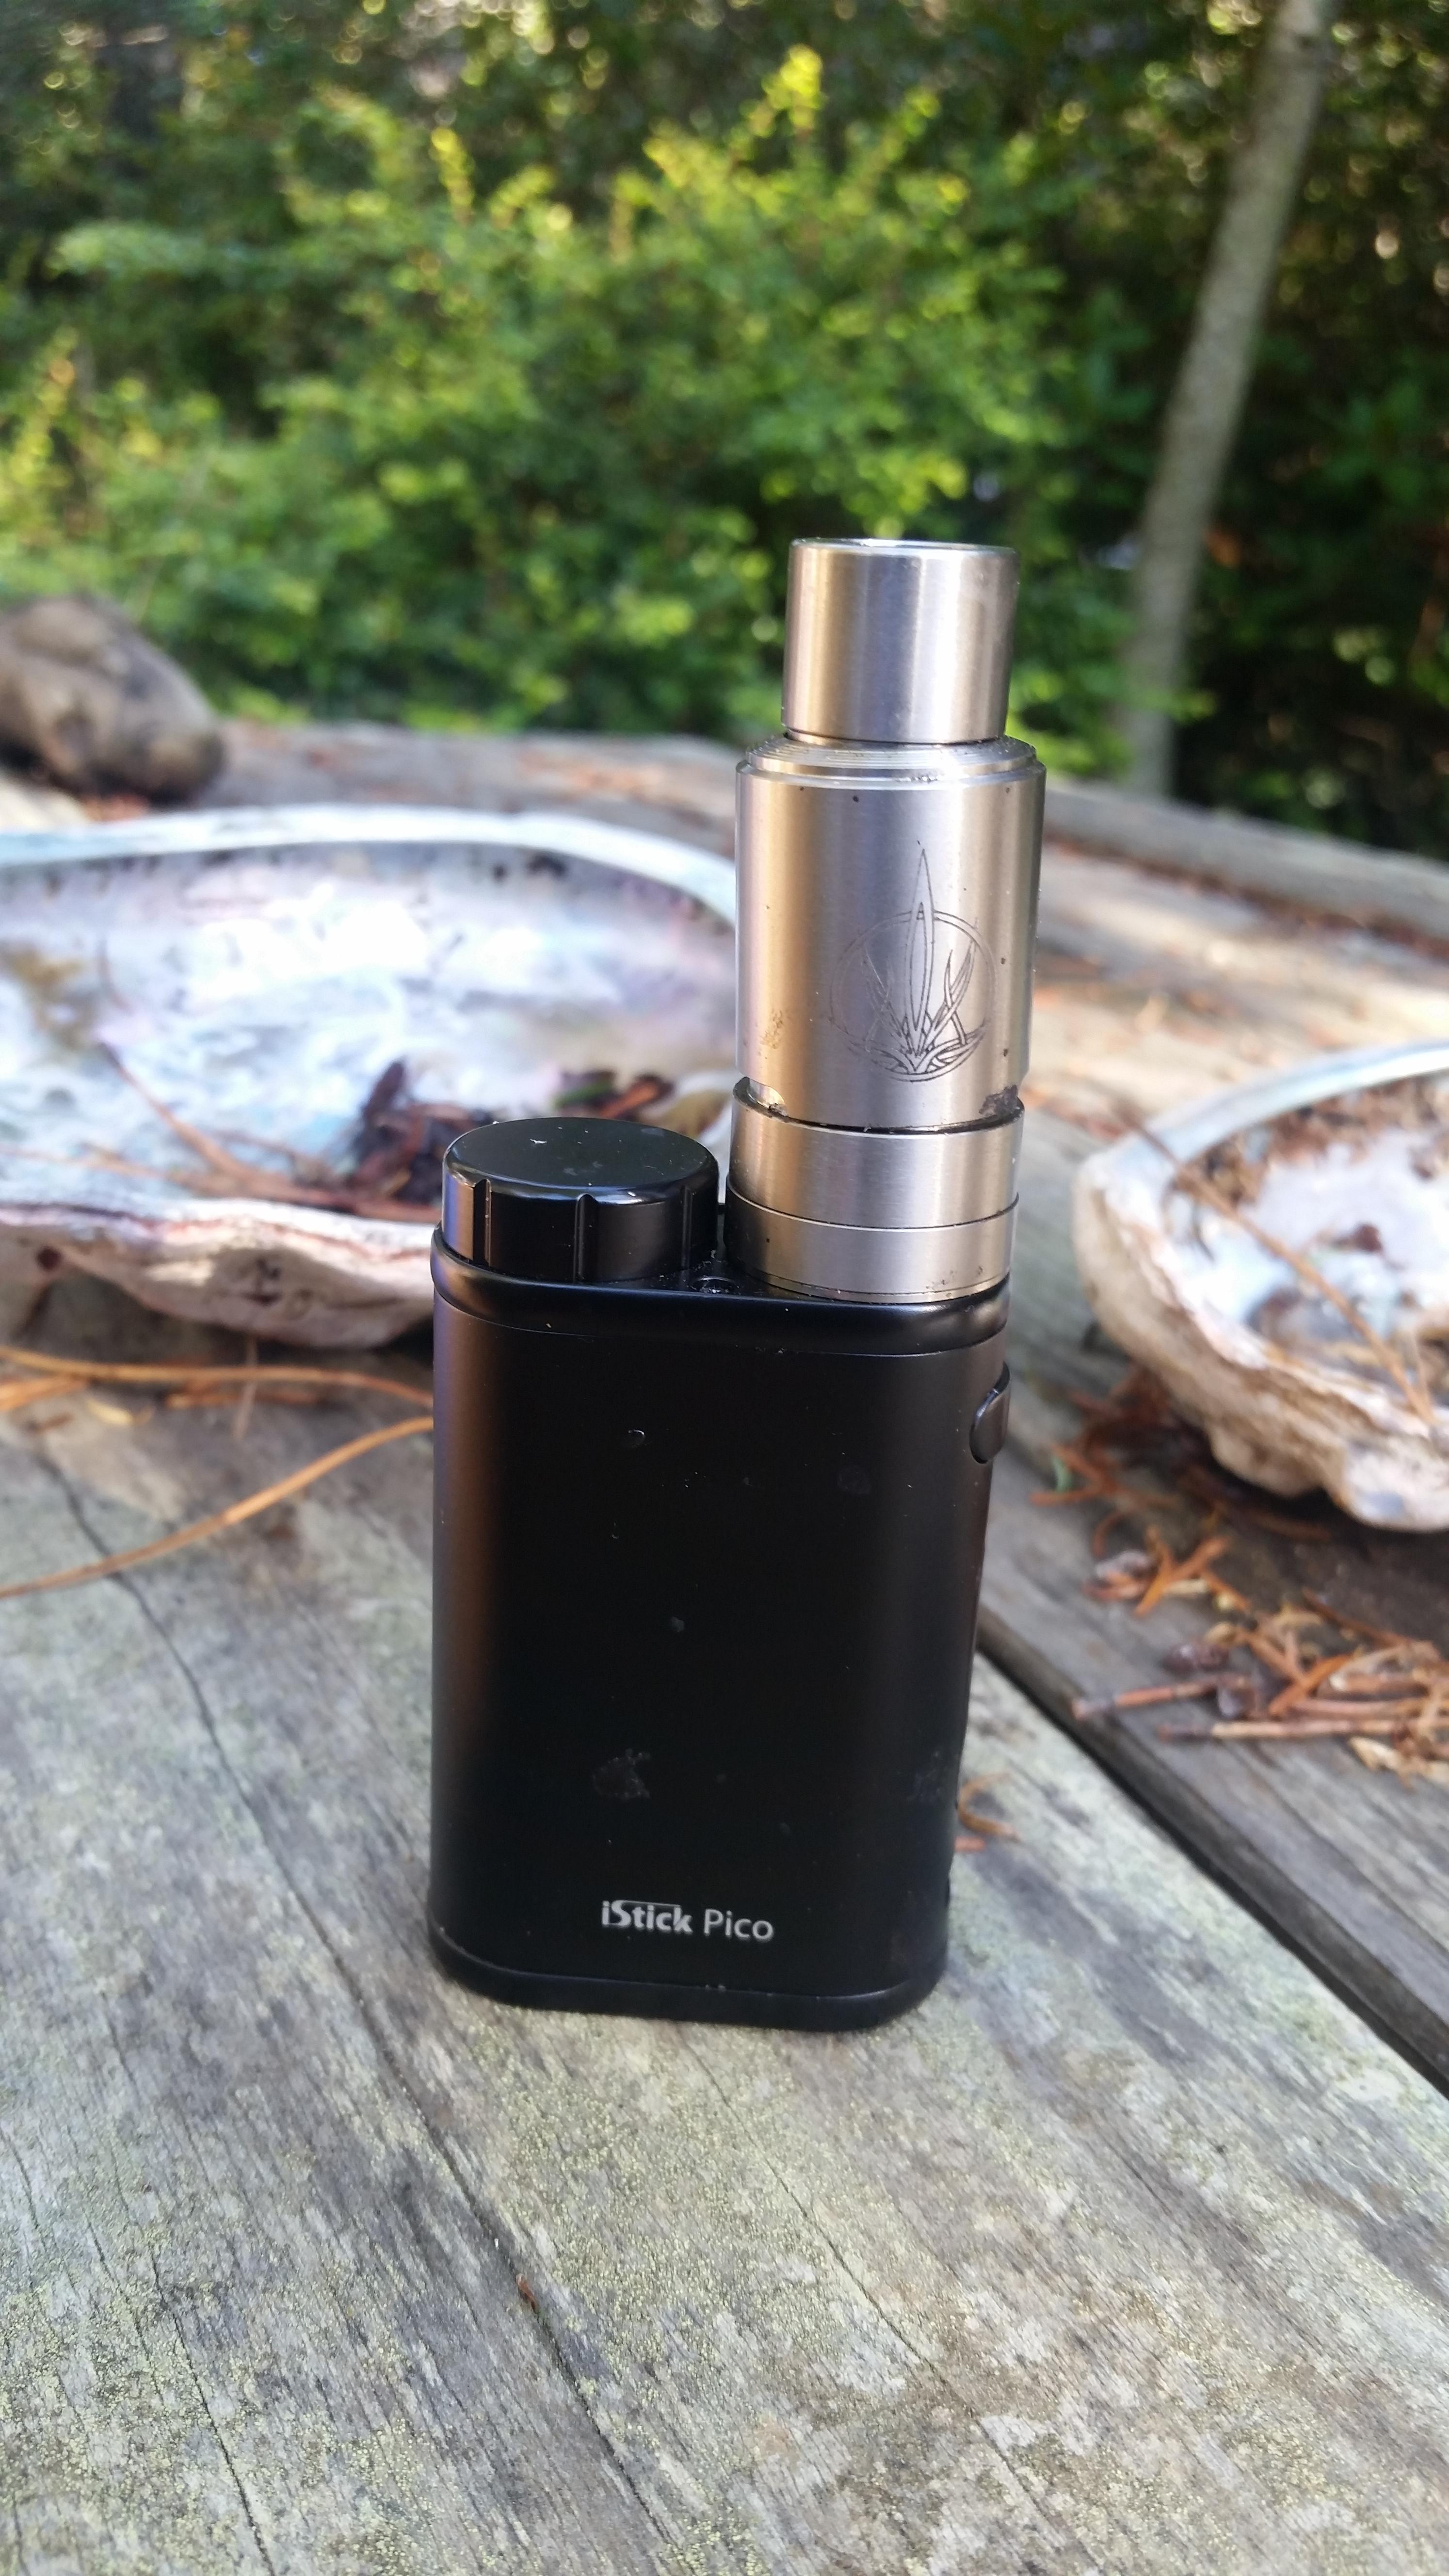
There she is, with the Sai Atomizer on it.
The Sai only needs 20 watts, but the mod goes from 1 watt to 75 watts on a single 18650.
Also makes the Pico ideal for cartridges, set it at 7 watts.
Prressing the power button 3 times can enter you into Vaping Mode, where you can choose either VW (Variable Wattage), Bypass (mechanical), TC-Ni, TC-Ti, TC-SS, TCR-M1,M2,M3 modes.
Operates from 0.1 – 3.5 ohms on all modes except the programmbale TCR ones, which are rated to 0,05 – 1.5 ohms.. In TC mode, the range for temp is 100-315 C / 200-600 F.
Has a USB charge port and firmware upgrade.
I really love this mod.
It includes three TCR settings. The way to set the TCR is not in the manual, so I’ll explain it here.
Keep pressing the fire button and “+“simultaneously when the iStick Pico is powered off to enter TCR set menu:
1. Press “+ “or “-” to shift M1, M2 and M3 modes;
2. Press the fire button to confirm the mode
3. Press “+” or “-” to change the TCR value according to the material of the coil you use;
4. Keep pressing the fire button or stay in the interface for about 10 seconds to confirm your setting.
Resistance setting is also not explained in the enclosed manual.
Temperature Control works best when you lock the resistance of your coil. This should be done when you first install your new coil and when the device is at room temperature. Locking your resistance lets your device know the correct baseline so that temperature calculations work more accurately.
To Lock / Unlock resistance, press and hold the Fire button and Up button simultaneously for two seconds. The Lock or Ohm sign will appear depending on the current setting. Always make sure to Lock/Unlock resistance when changing to a new coil.
Cons to the Pico ? Hardly any.
However, the battery cap where it is prevents one from using an atomizer larger than say oh 24mm or so. I bypassed this problem with a 510-to-ego adapter, which raises the 510 up just far enuff to screw on any atomizer.
So, the Pico is included in a kit with the Sai from PuffItUp.Com , and it’s a great pairing !
Conclusion
This kit is a great, ready to go setup, just add oil.
Also, if you get it from PuffItUp.Com , you’ll get neat stuff like a dab mat, silicone container, and anything else they might throw in !
Here’s a close-up of the logo on the Sai:

Also, here’s a view of the Sai opened up, showing o-rings and inside:

OK well ! Go get yourself one ! He he.
Until soon, stay calm and vape ON.
Share: